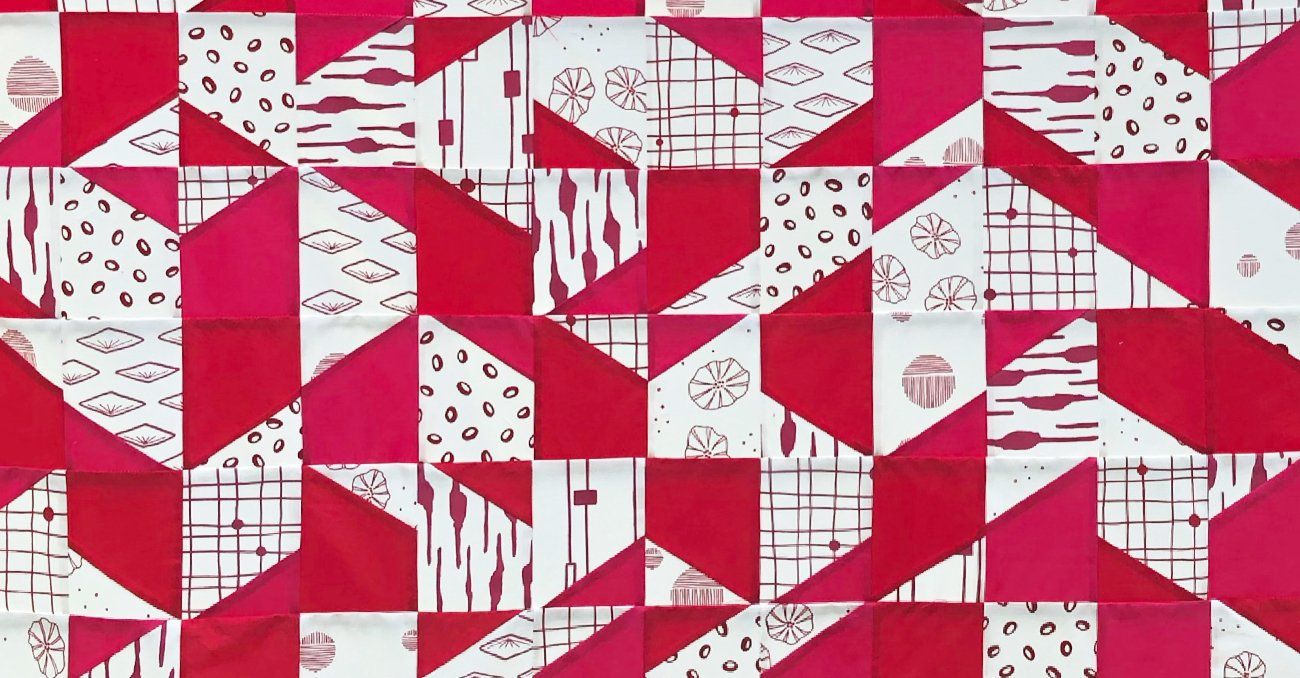
Pod Quilt - A Hand Appliqué QuiltTutorial
Pod Quilt Top - A Hand Applique Tutorial
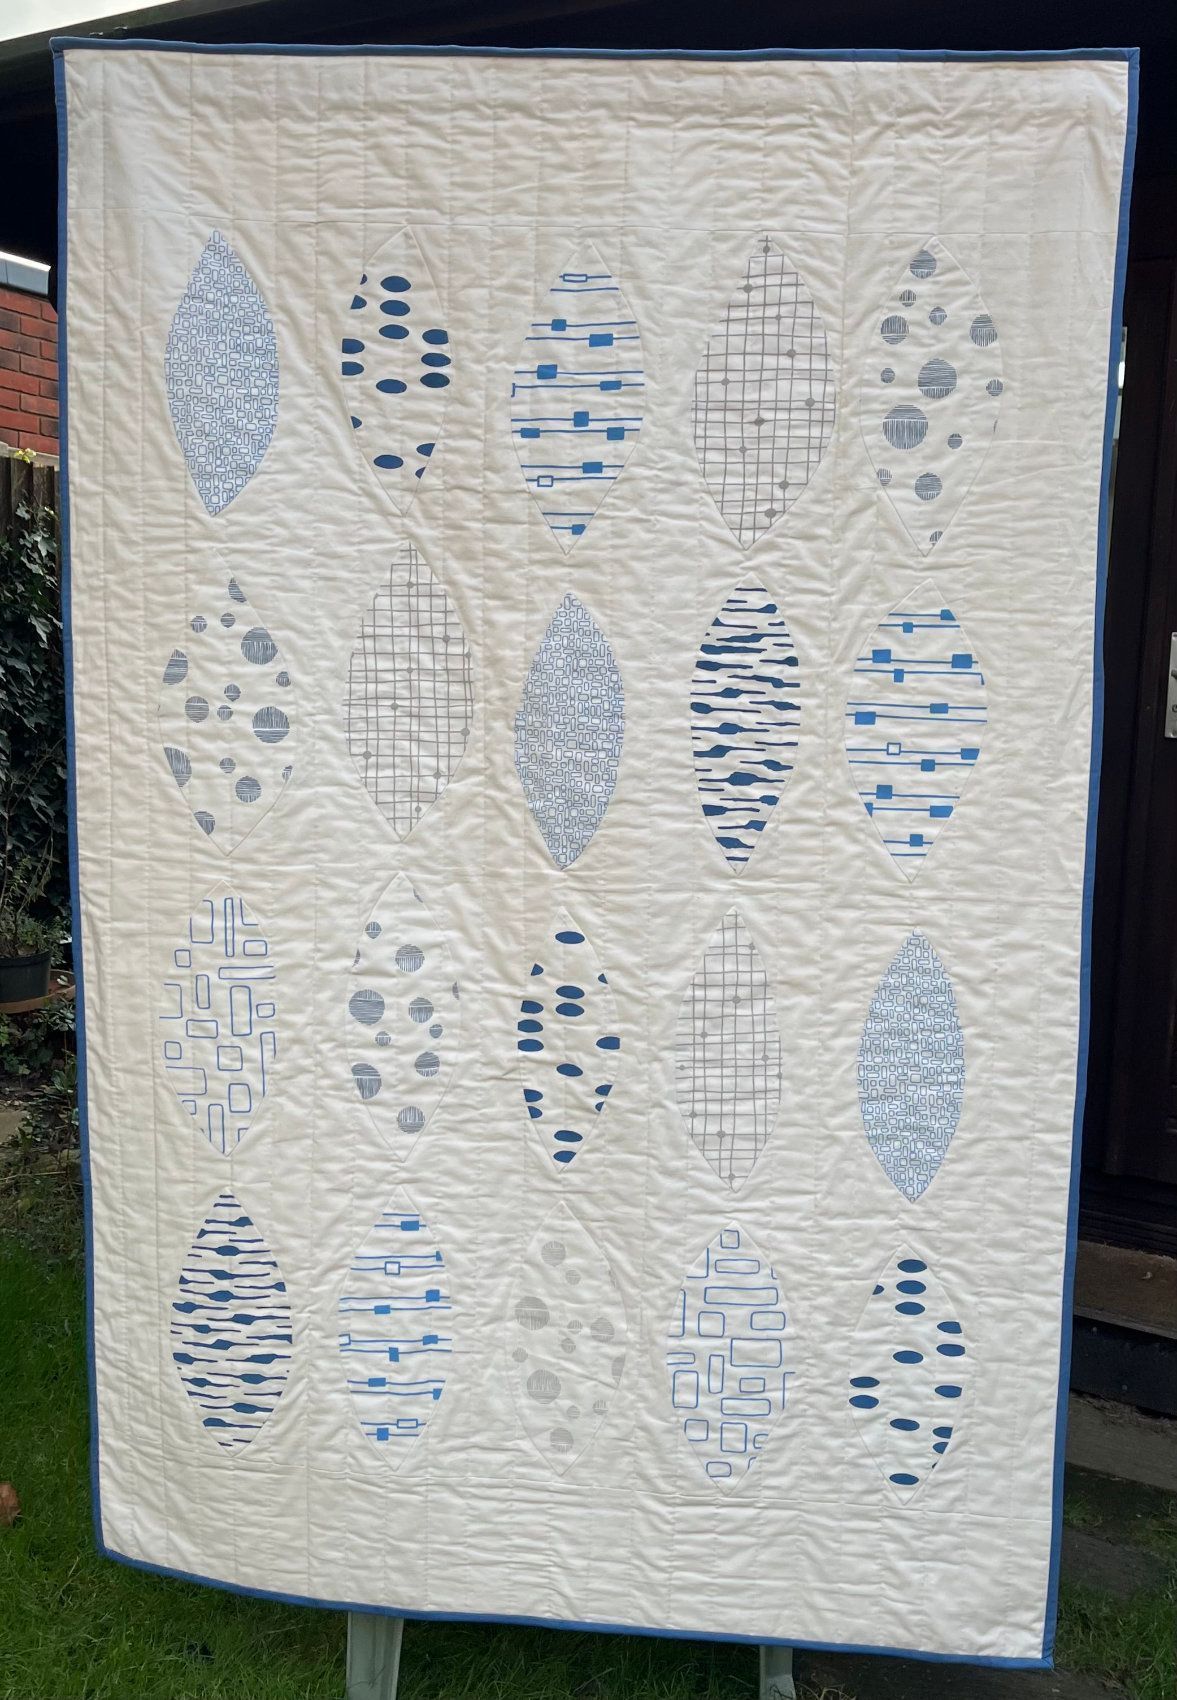
This simple quilt has a lot of impact and suits those who favour a pared back style.
The 'pod' shapes have all been hand appliquéd on as I love to hand stitch, but if you prefer to machine appliqué, go ahead and adapt the design to suit your chosen method of working.
This finished quilt measures 120cm x 184cm (47" x 72.5"). Adjust the size if you wish with a larger plain white border around the edge.
You will need:
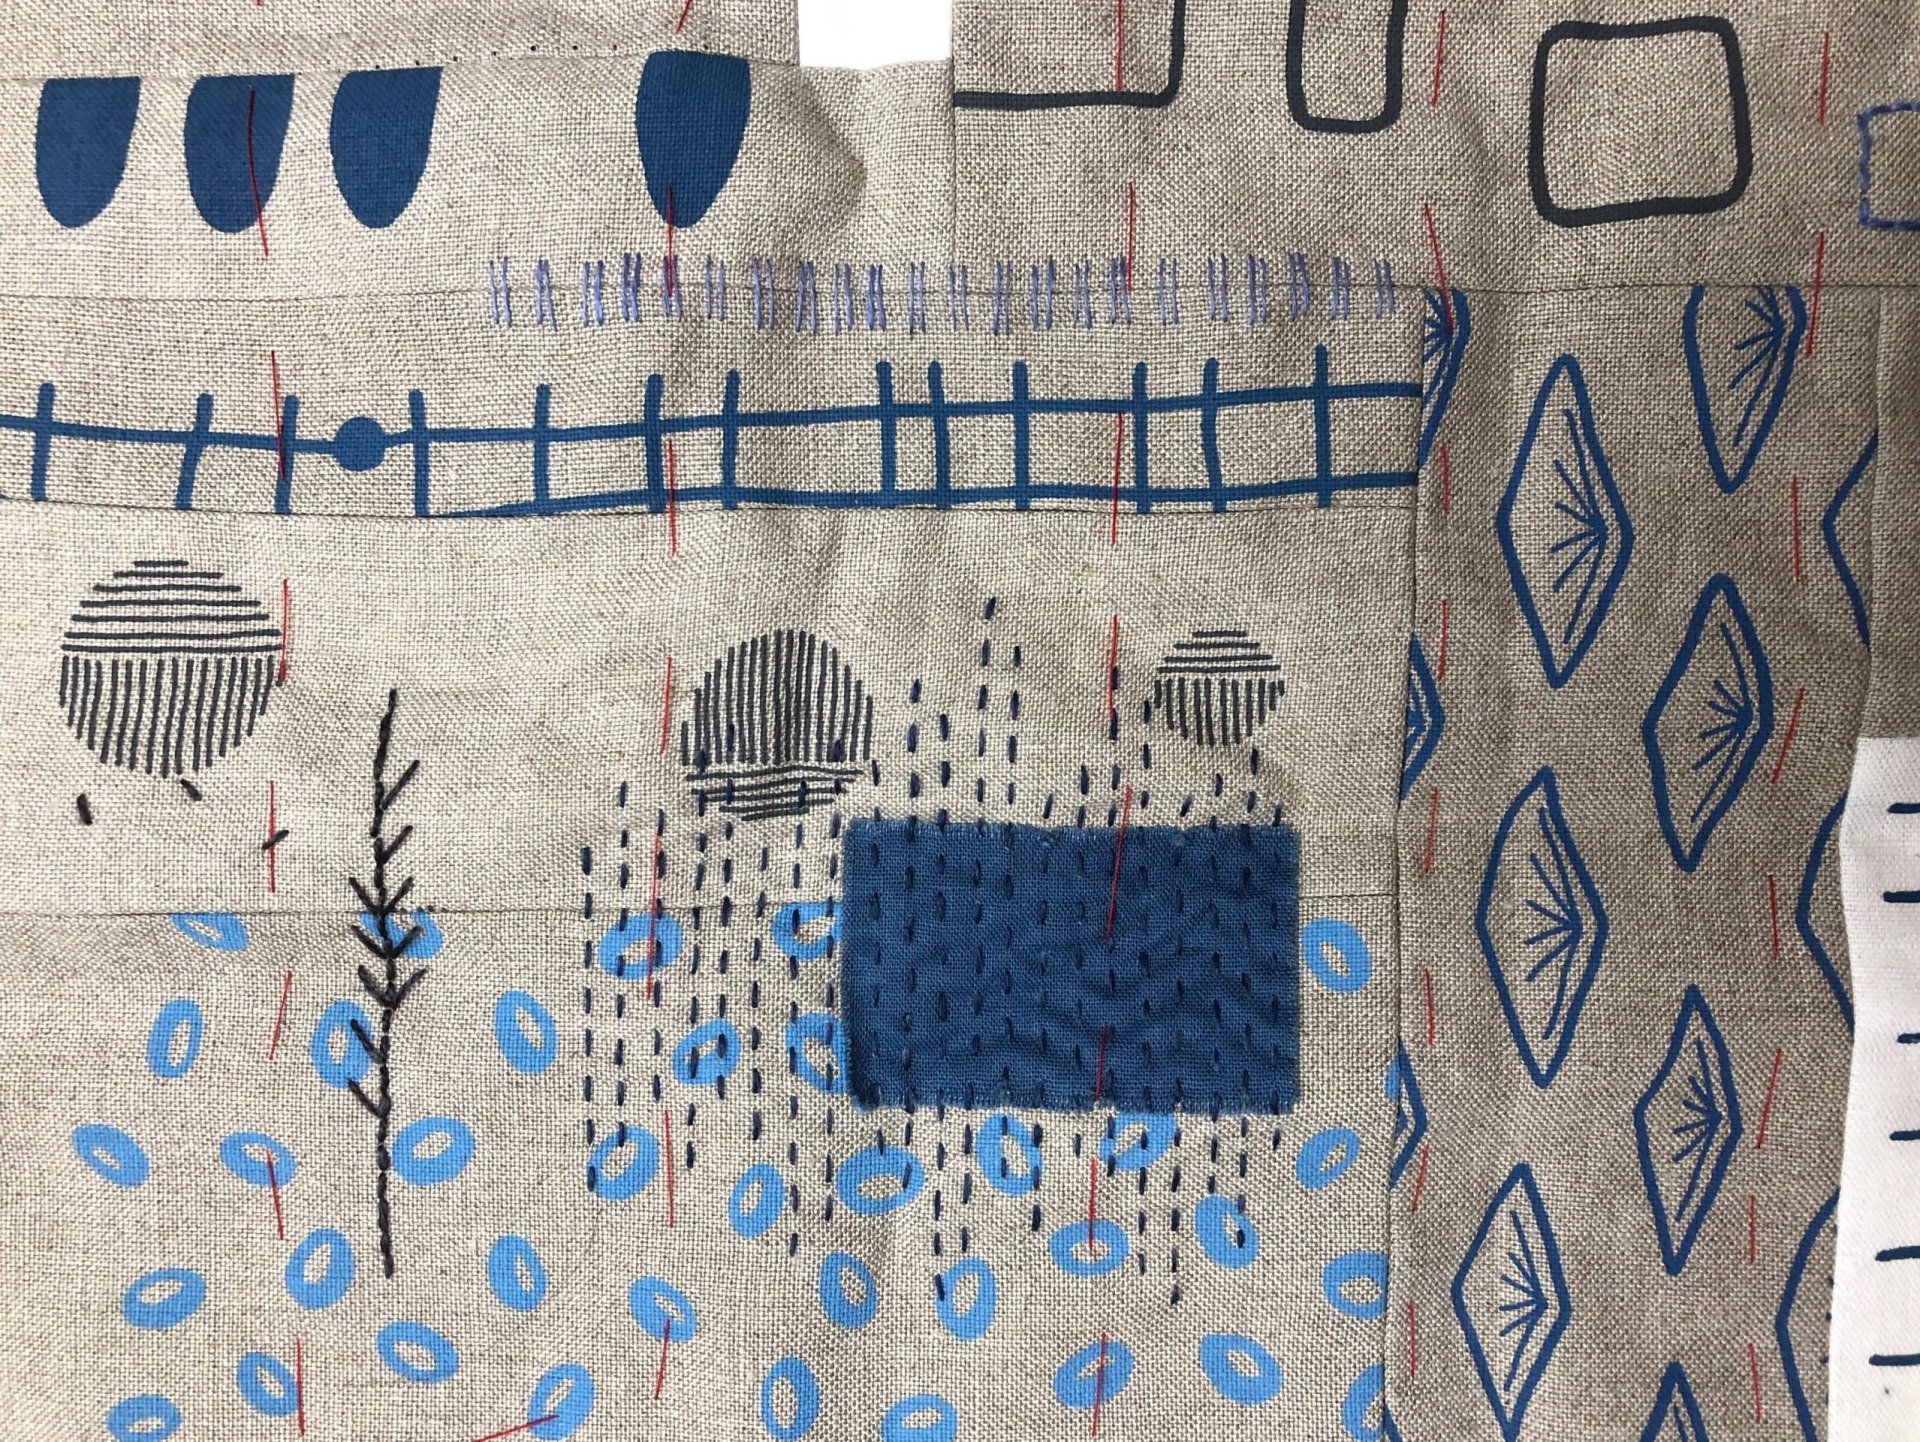
7 Colette Moscrop fabric panels on a cotton base, I've used cloud, cornflower and denim in a variety of prints in this quilt. Buy a bundle here.
190 x 120cm white cotton base (minimum)
Good quality thread Guterman / Aurifil
Good quality needle, Tulip / John James
Quilt wadding and backing as desired.
Fabric scissors / rotary cutter and mat
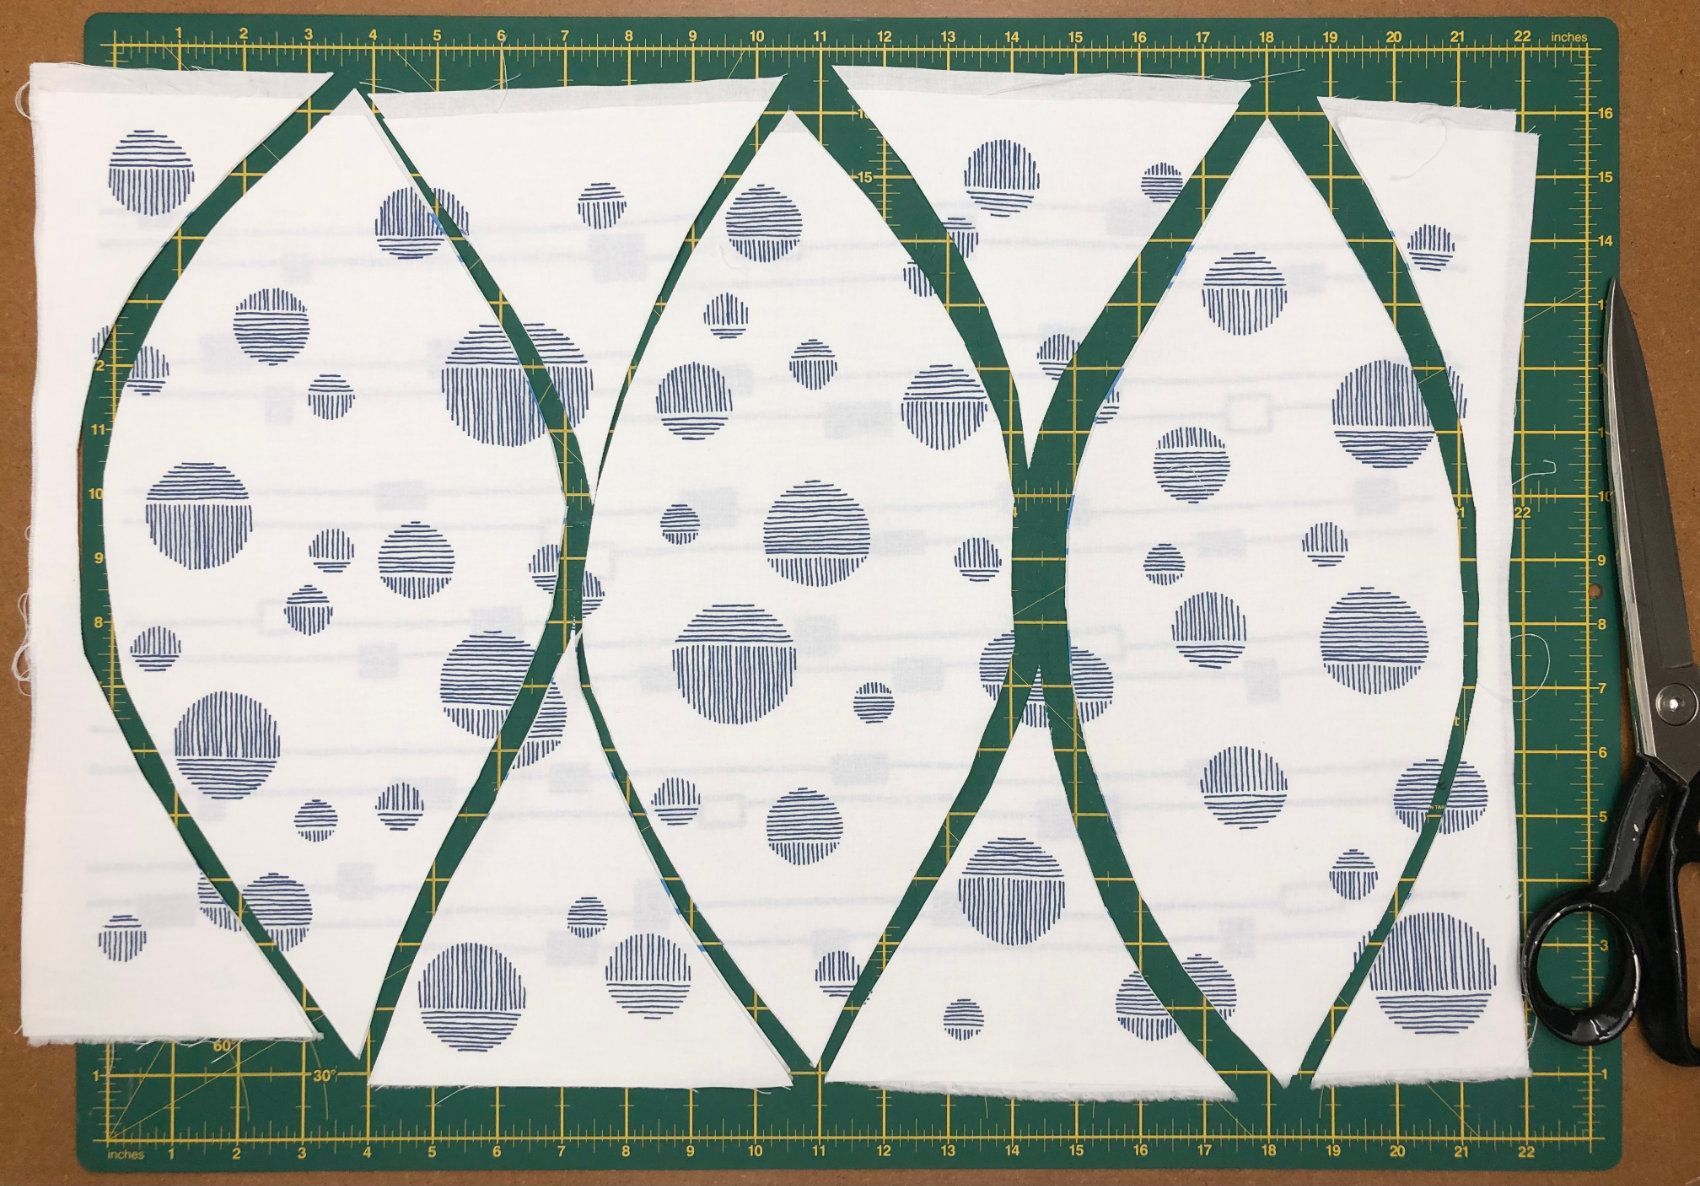
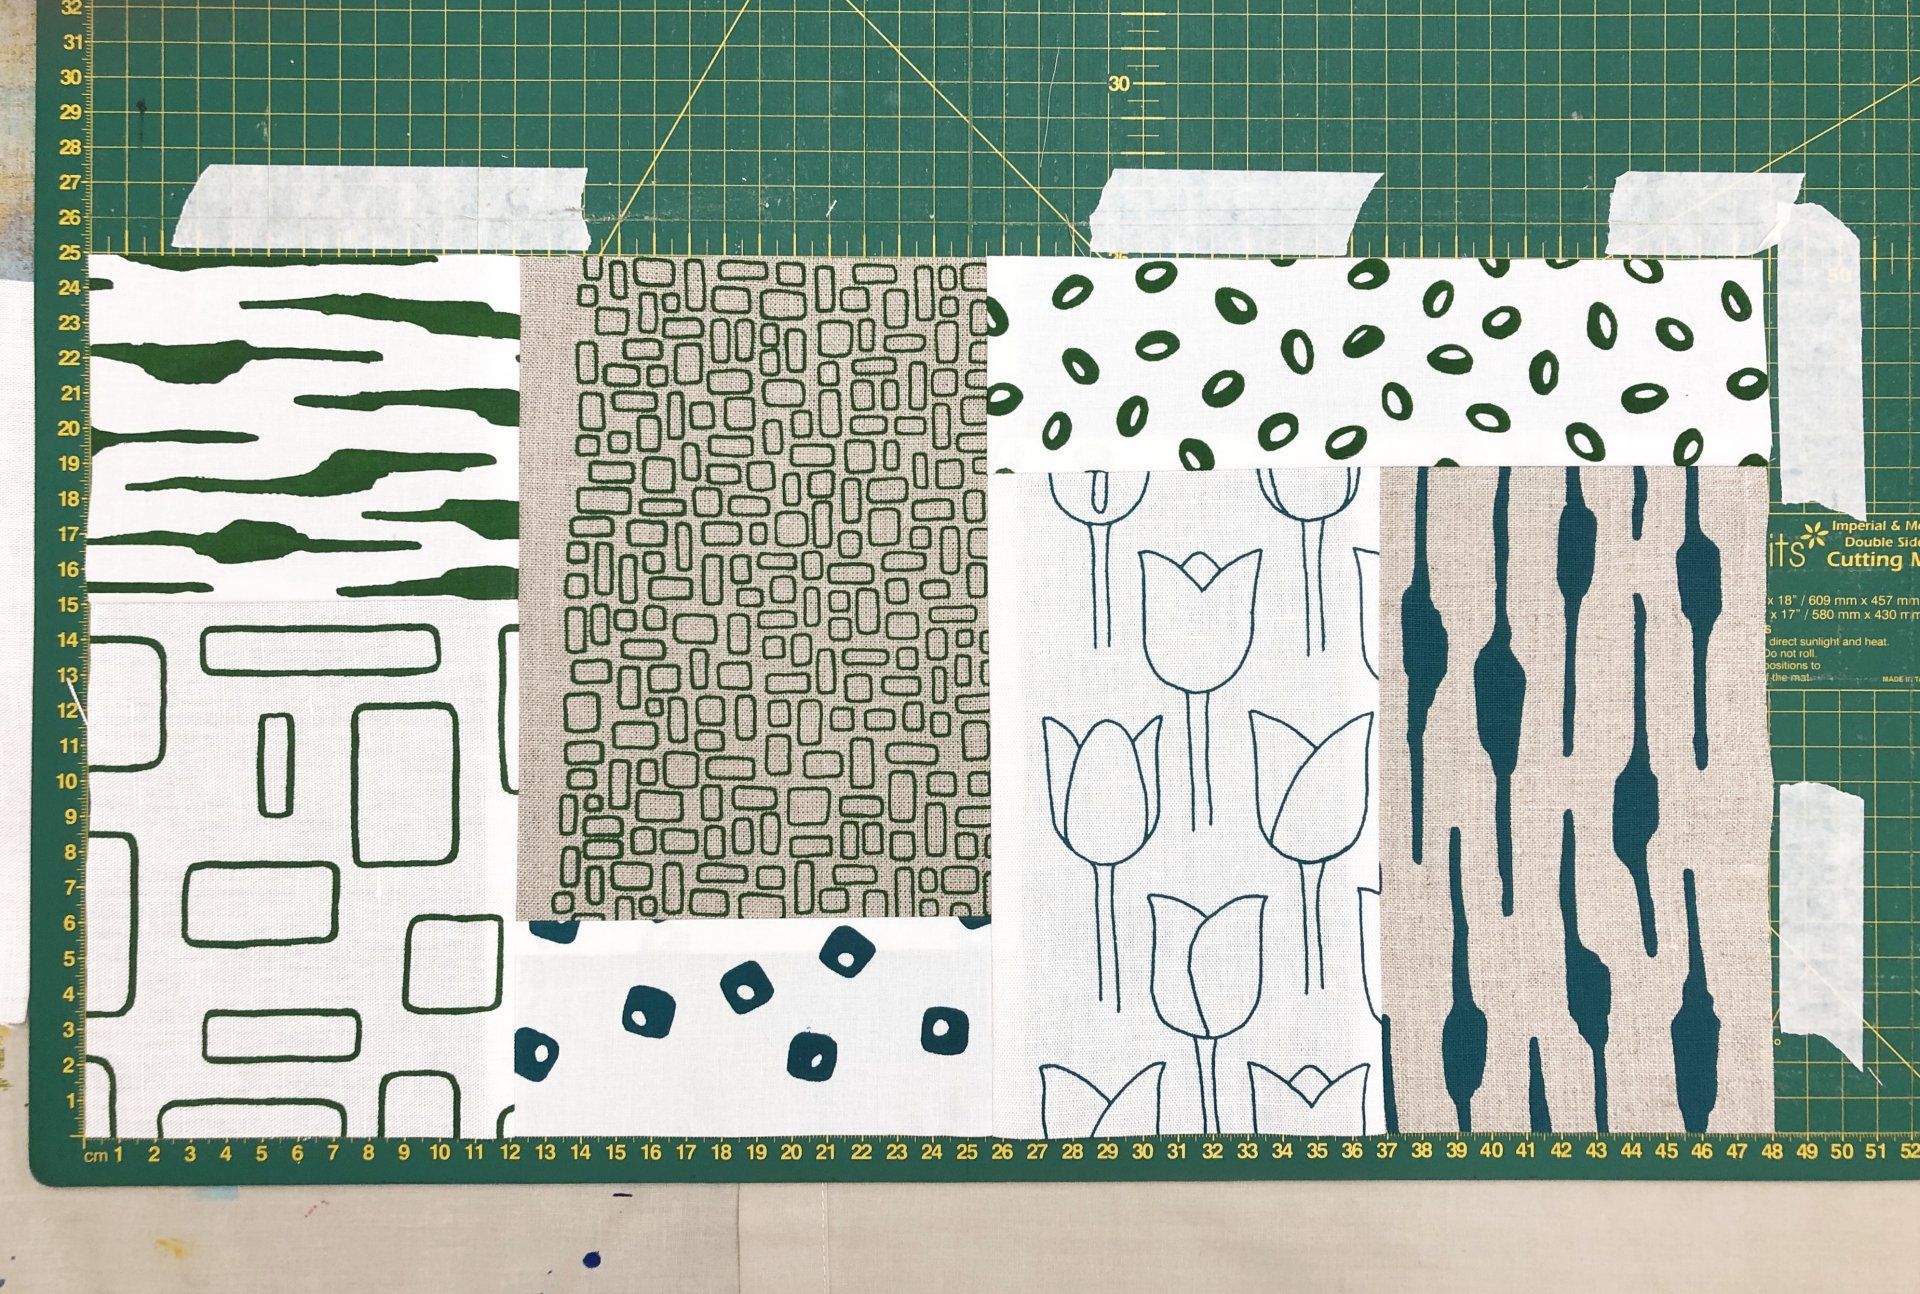
Cutting The Pods
You need 20 pod shapes in total, you'll get 21 out of 7 panels using the fabric panels horizontally.
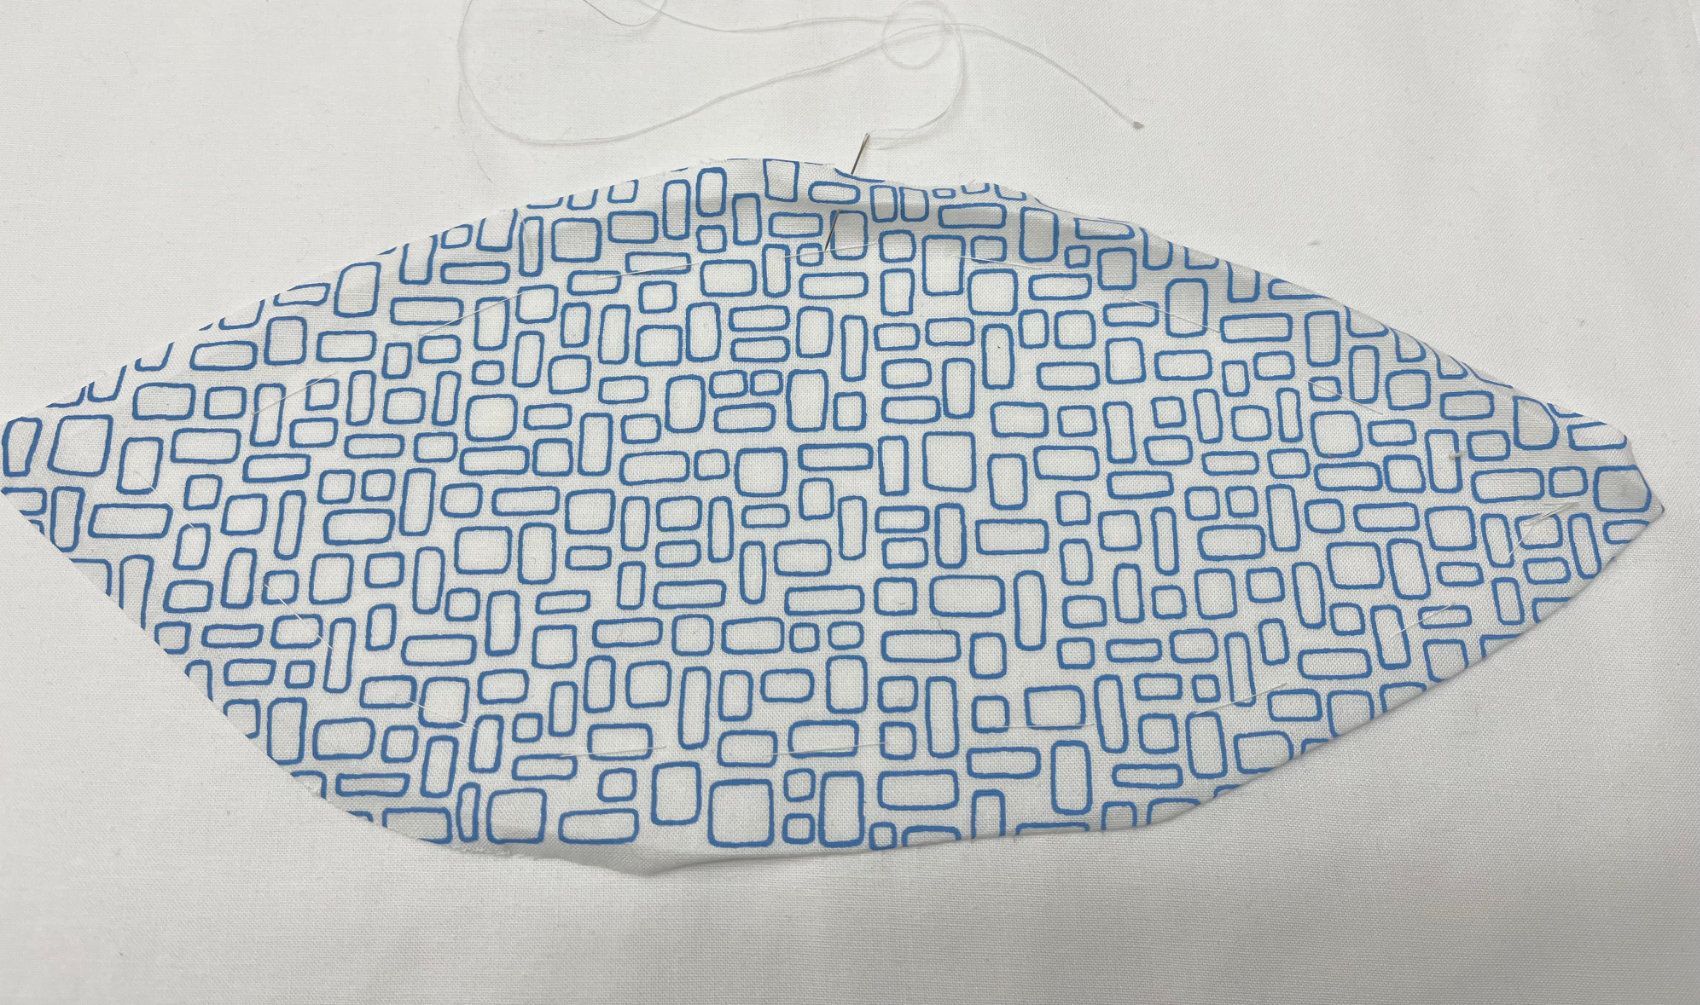
The pod shapes are cut out freehand, so that you will get lovely organic and imperfect shapes.
Do this with either a rotary cutter or fabric scissors, whichever you are most comfortable with. You can get 3 pods from each fabric panel. If it helps to guide you, divide the fabric, when horizontal, into 3 with a crease, so you can see the 3 sections, you could even draw on your shape with a disappearing pen if you're a little nervous. Don't worry if some are wide and some are narrow, mine are and this is what makes the quilt interesting.
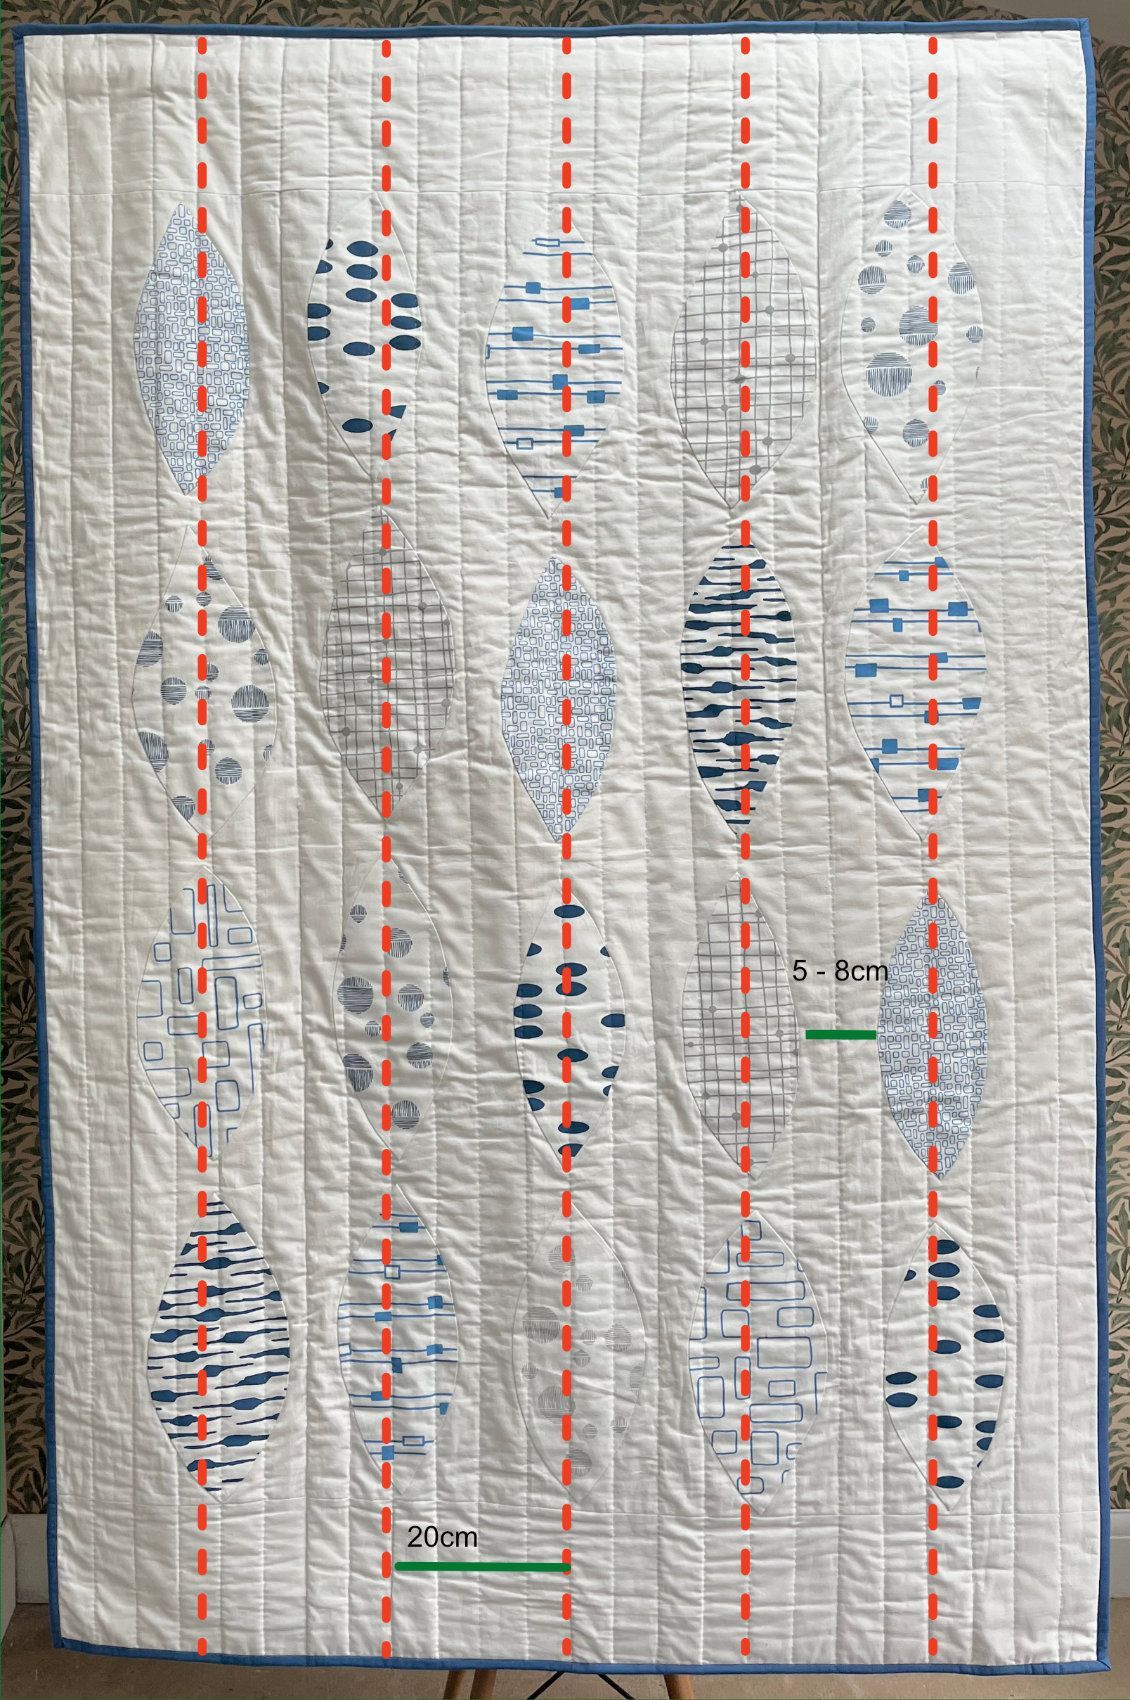
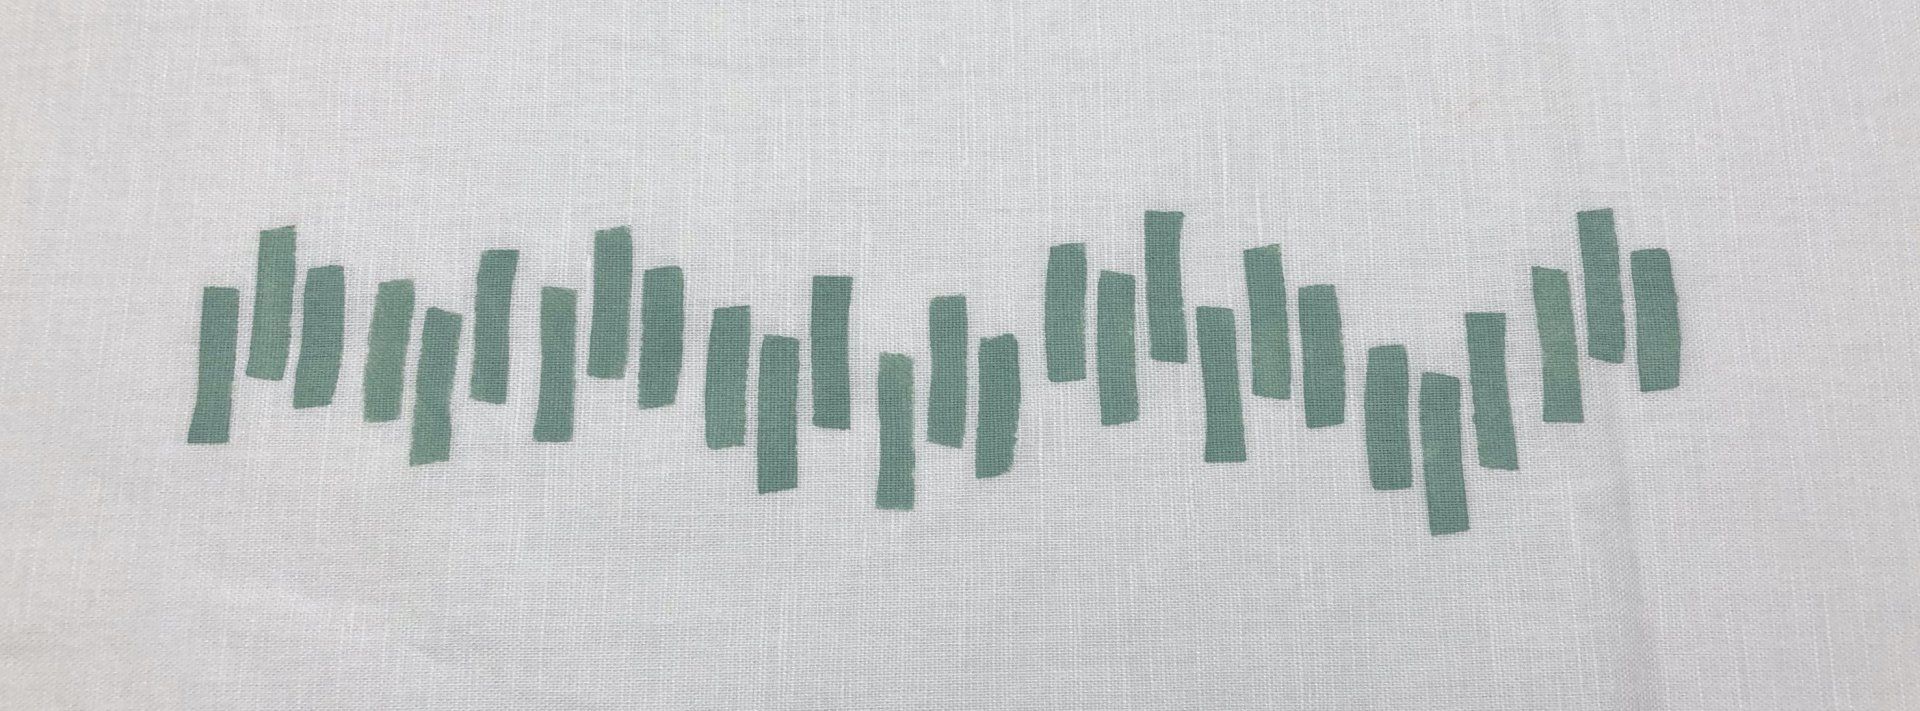
Positioning The Pods
Before you start to position your pods onto your white background fabric, lightly mark out with a gentle crease some guidelines onto your fabric. This will help you keep your pods in straight lines. Start by folding your fabric in half lengthways, this will give you the central crease. Work outwards and mark two more creases on either side, approx 20cm apart.
These are for guidance, your pods aren't going to line up at the top and bottom, and you can see I'm not in line with most of these, but it will help keep you from going off on any curved directions. The finished gaps between my pods are 5 - 8cm, when they are laid out with the seam allowance flat they look much closer together.
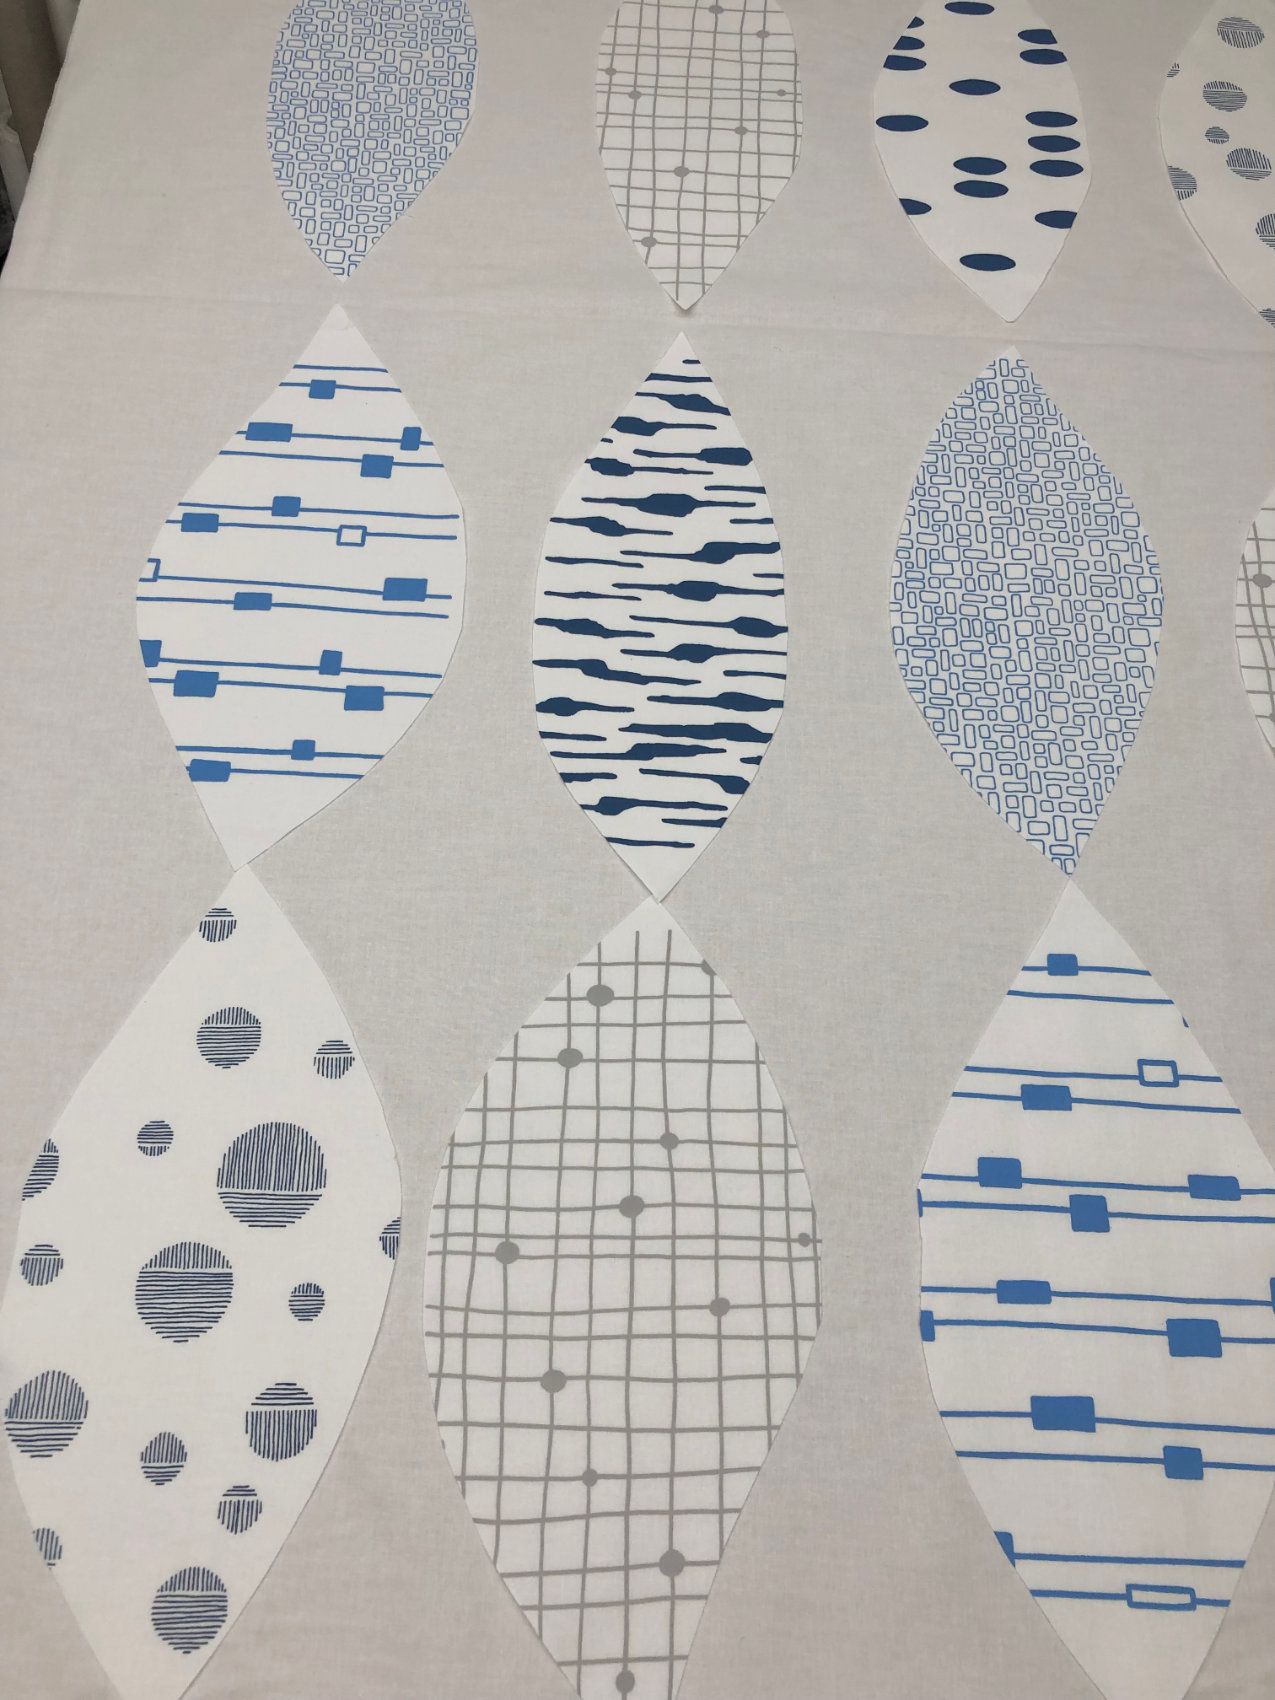
Once you have your pods cut out, you need to decide on the placement of each pattern and colour. This is the fun part, balance dark and light coloured prints against heavy and fine line designs. Try to get an even spread across the quilt. Take a photo to get a different perspective, you can often see if anything needs changing straight away this way.
When you are happy with the placement of your prints, ensure each pod is positioned level, although you're working with curves, many of the designs have straight lines within them, try to ensure they are square with your quilt so the overall appearance of the pods aren't out of line or squiffy. If you're working on a design wall a plumb line will help, or if you're working on the floor, pin a piece of ribbon to either edge of the fabric as guide and move it along as required.
Tacking
With your pods all in position, it's time to tack them. I secured mine initially with quilt pins, but then I tacked all the pods with thread as I find that when hand stitching, my threads always get tangled on basting pins, so I like to remove the pins as quickly as possible. Tack approx 2.5cm / 1" from the raw edge of the pod, this will keep your shape in position, and allow you room to turn the fabric under when stitching.
Hand Appliqué
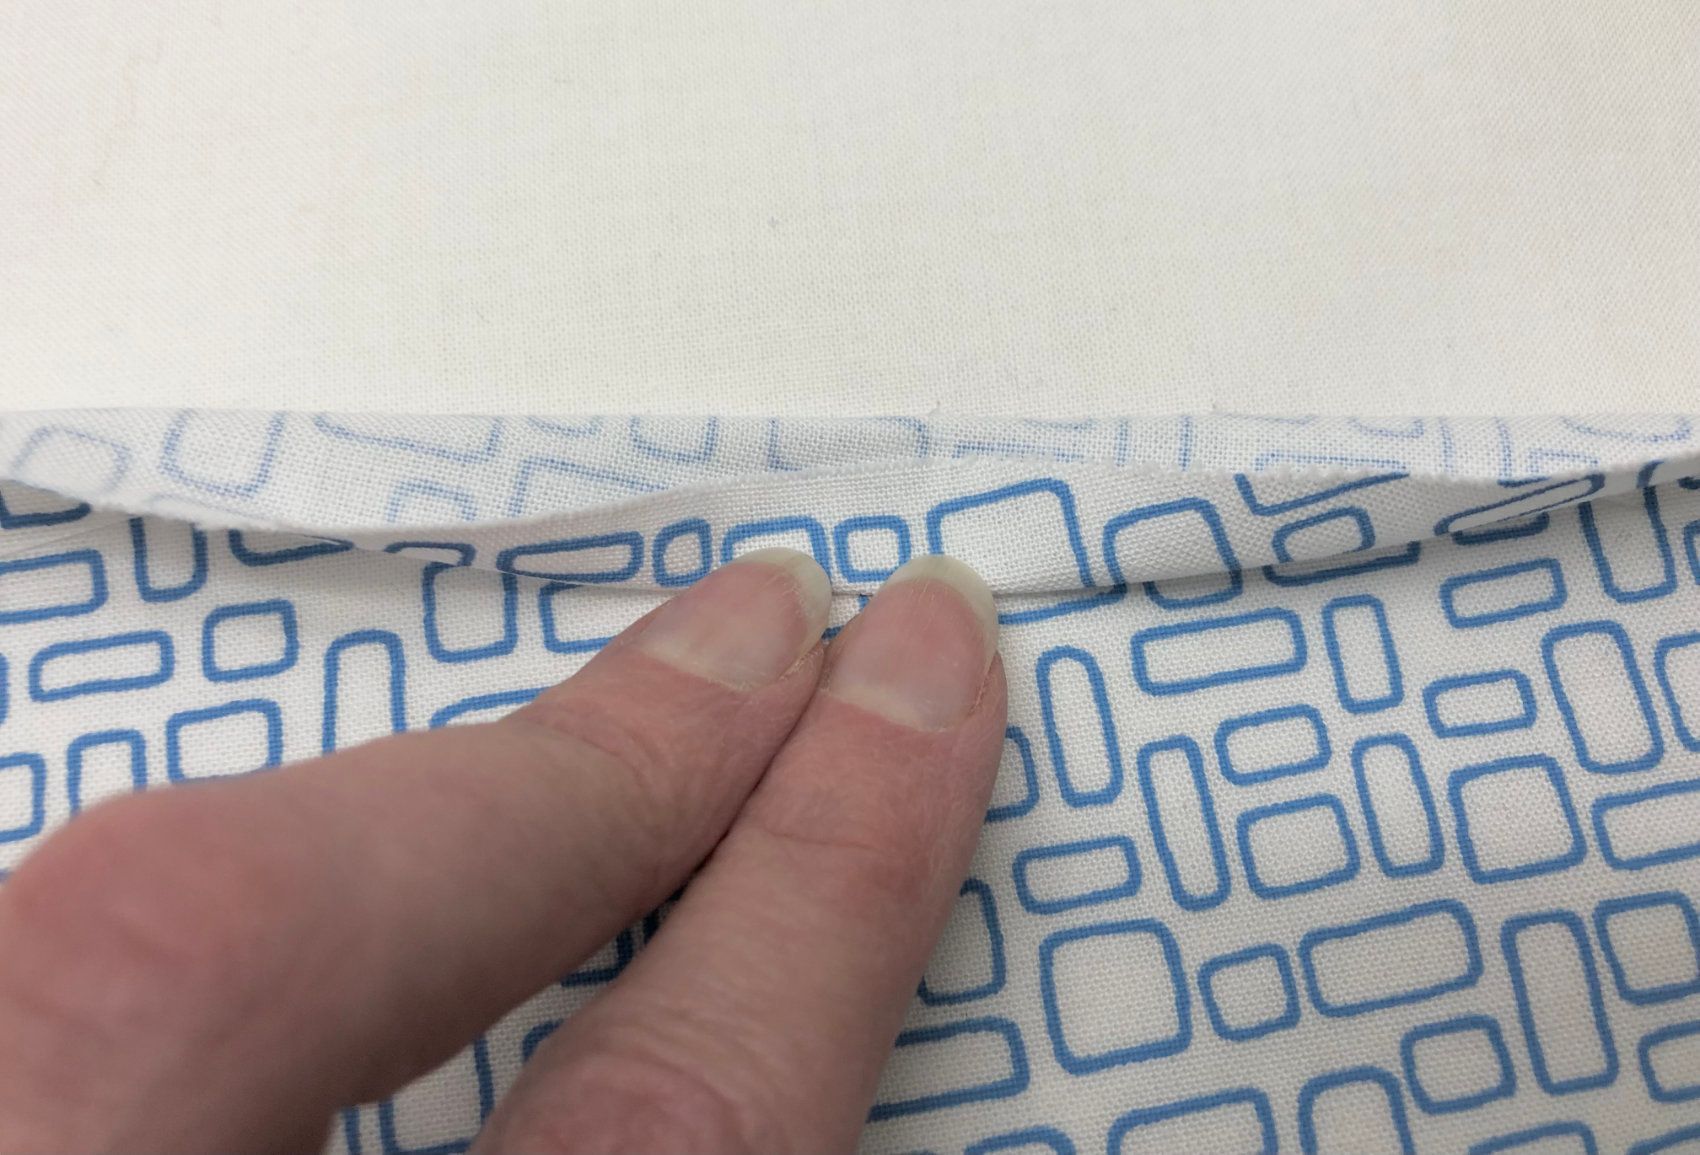
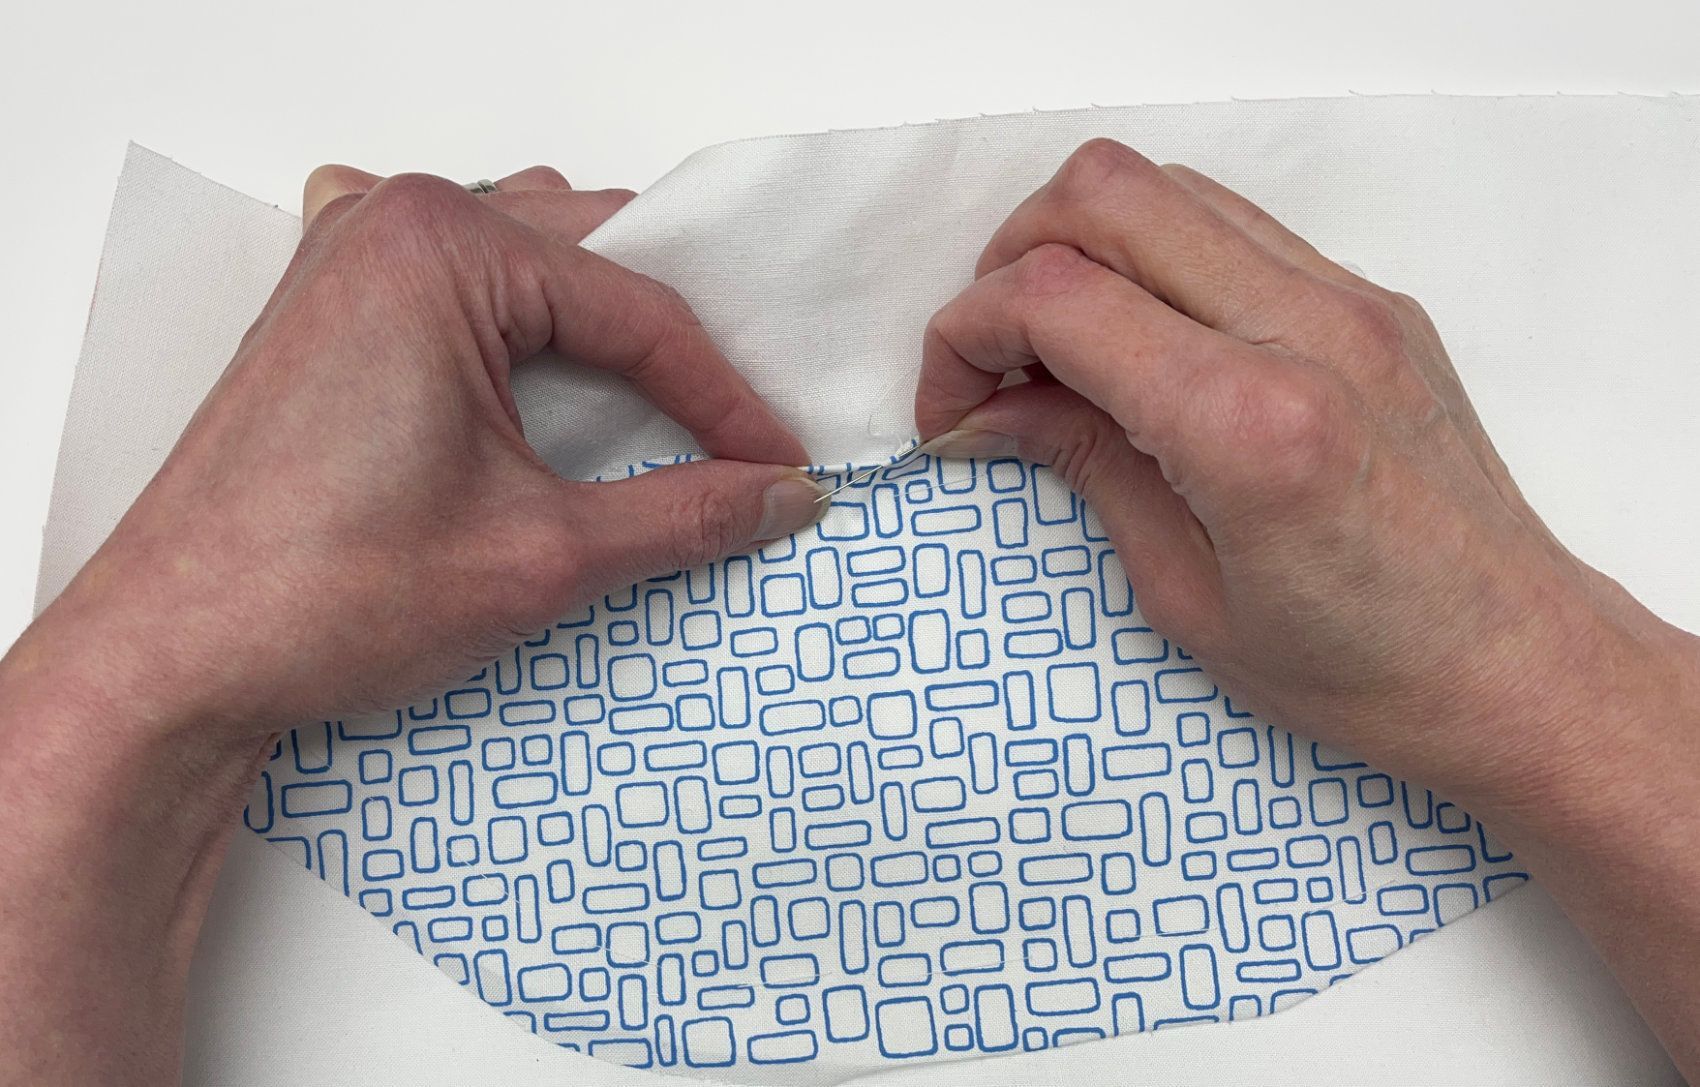
Before you start to stitch turn under with a .5cm / .25" seam allowance and finger press all the way around the pod shape. This will be your stitch line, the fabric handles well at curves, ease it gently and it will lie flat. You will get ears at each end, we will come to this in later.
Thread your needle with a good quality thread and knot the end. Begin on the long edge of the pod, at it's widest point. Come up from underneath the print, in the crease you have just made. Ensure the pod is smooth against the base fabric, keeping the needle perpendicular, insert the needle in the base fabric next to where the thread came out of the pod fabric, then come up around 3mm / an 8th along. At the point where you exit the base fabric, go back into the the pod fabric, exiting around 3mm / an 8th along and repeat. Keep checking that your pod is laying flat regularly, if I'm not at a table working, I will have a placemat under my fabric so I have something solid to keep checking against. Keep stitching your way around the pod.
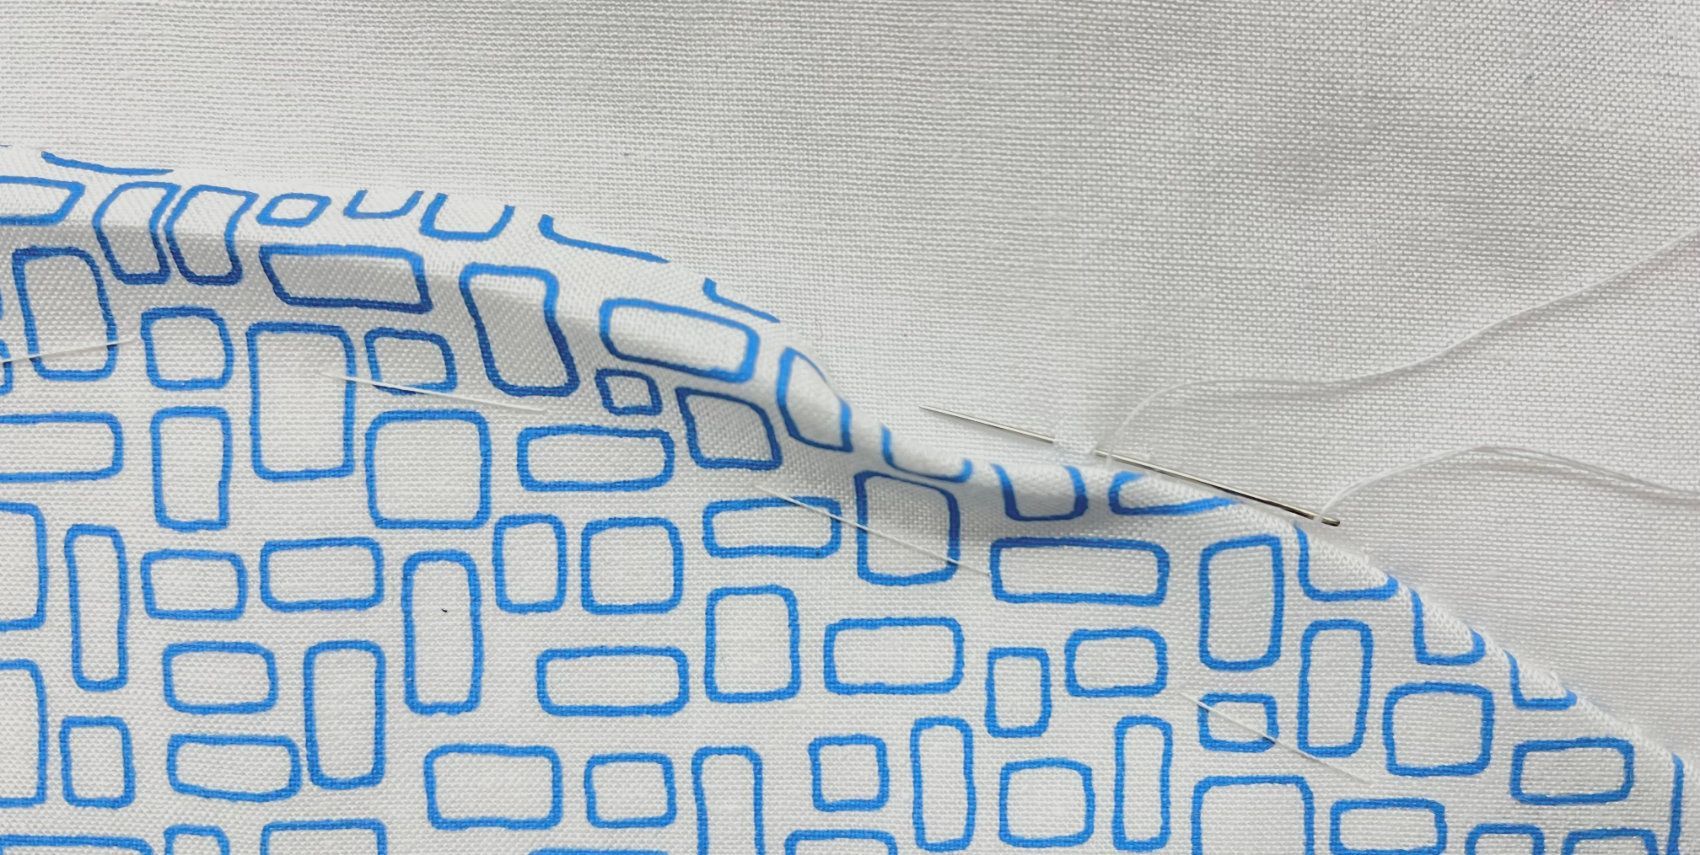
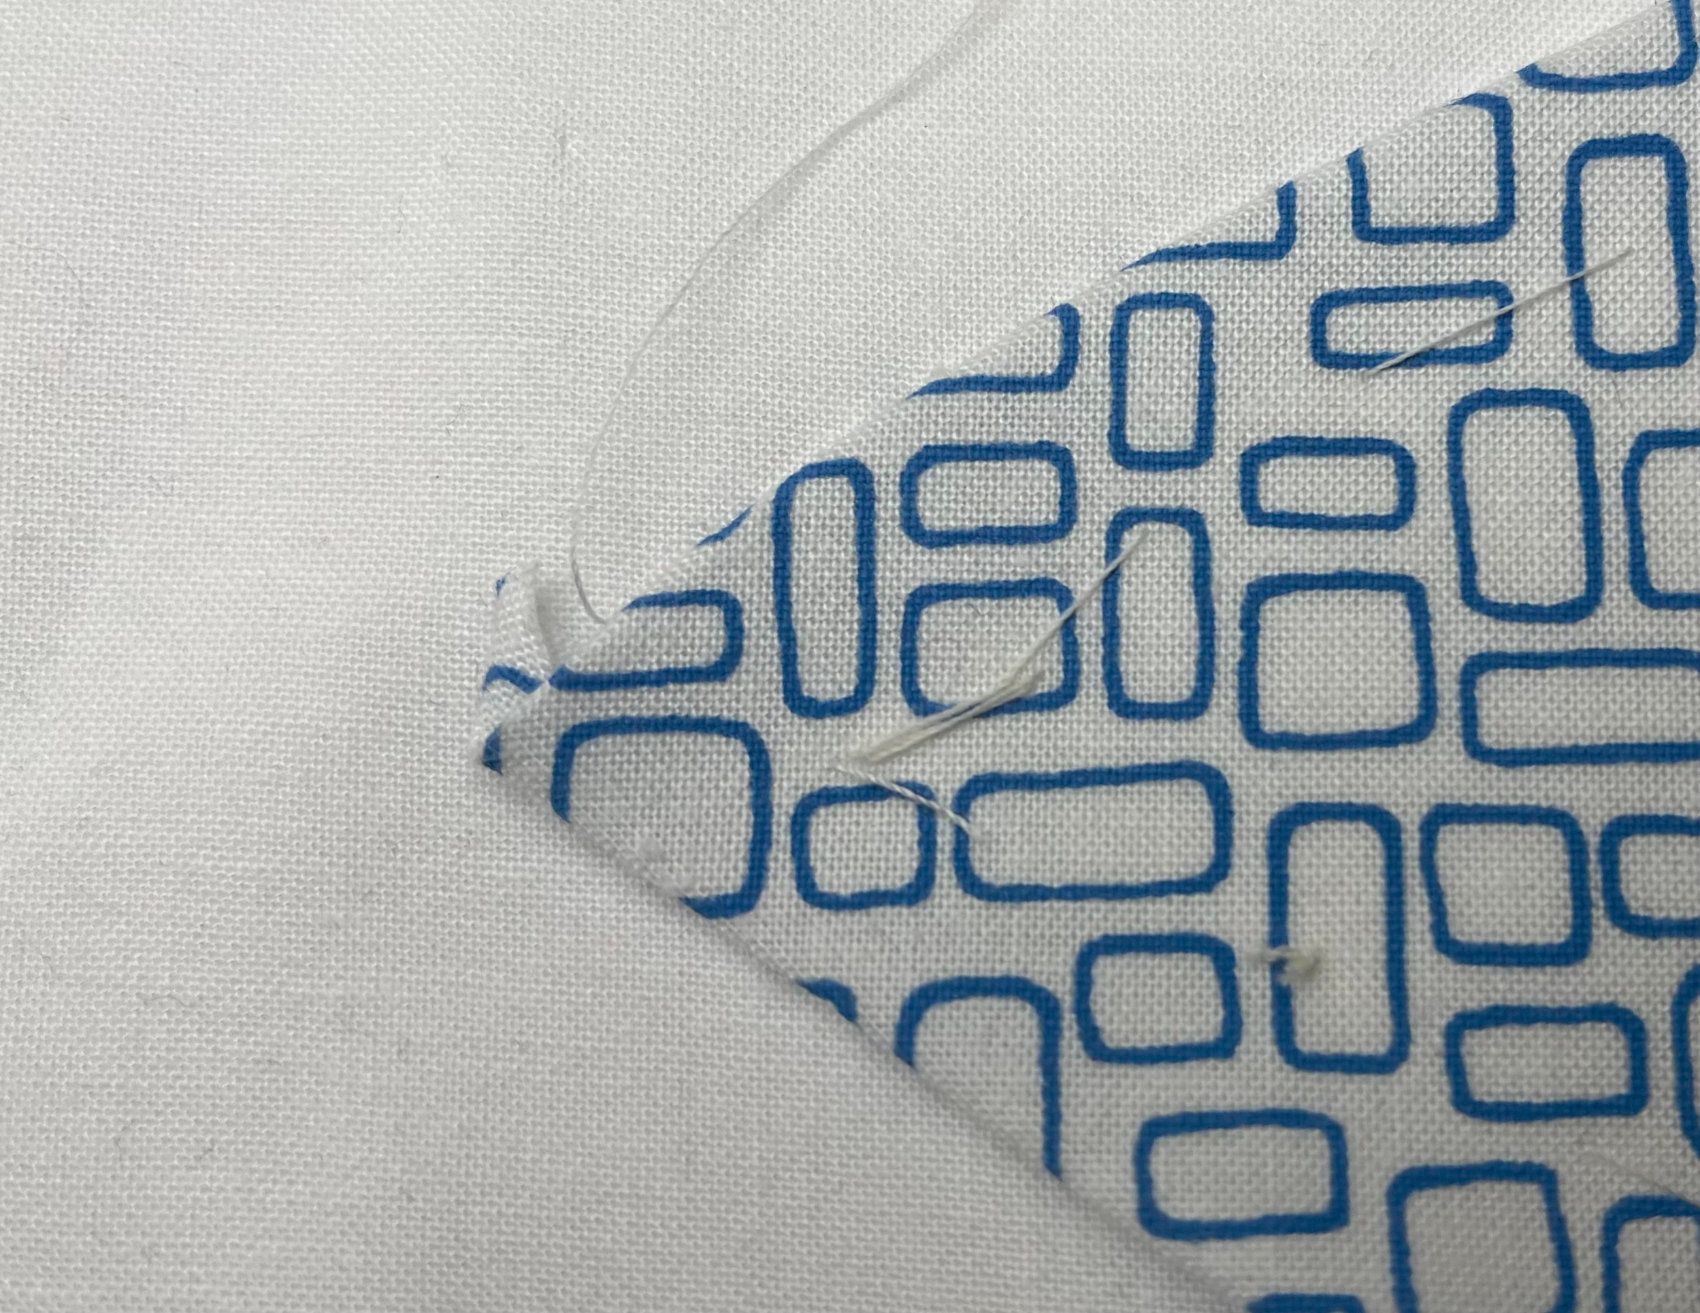
The Points
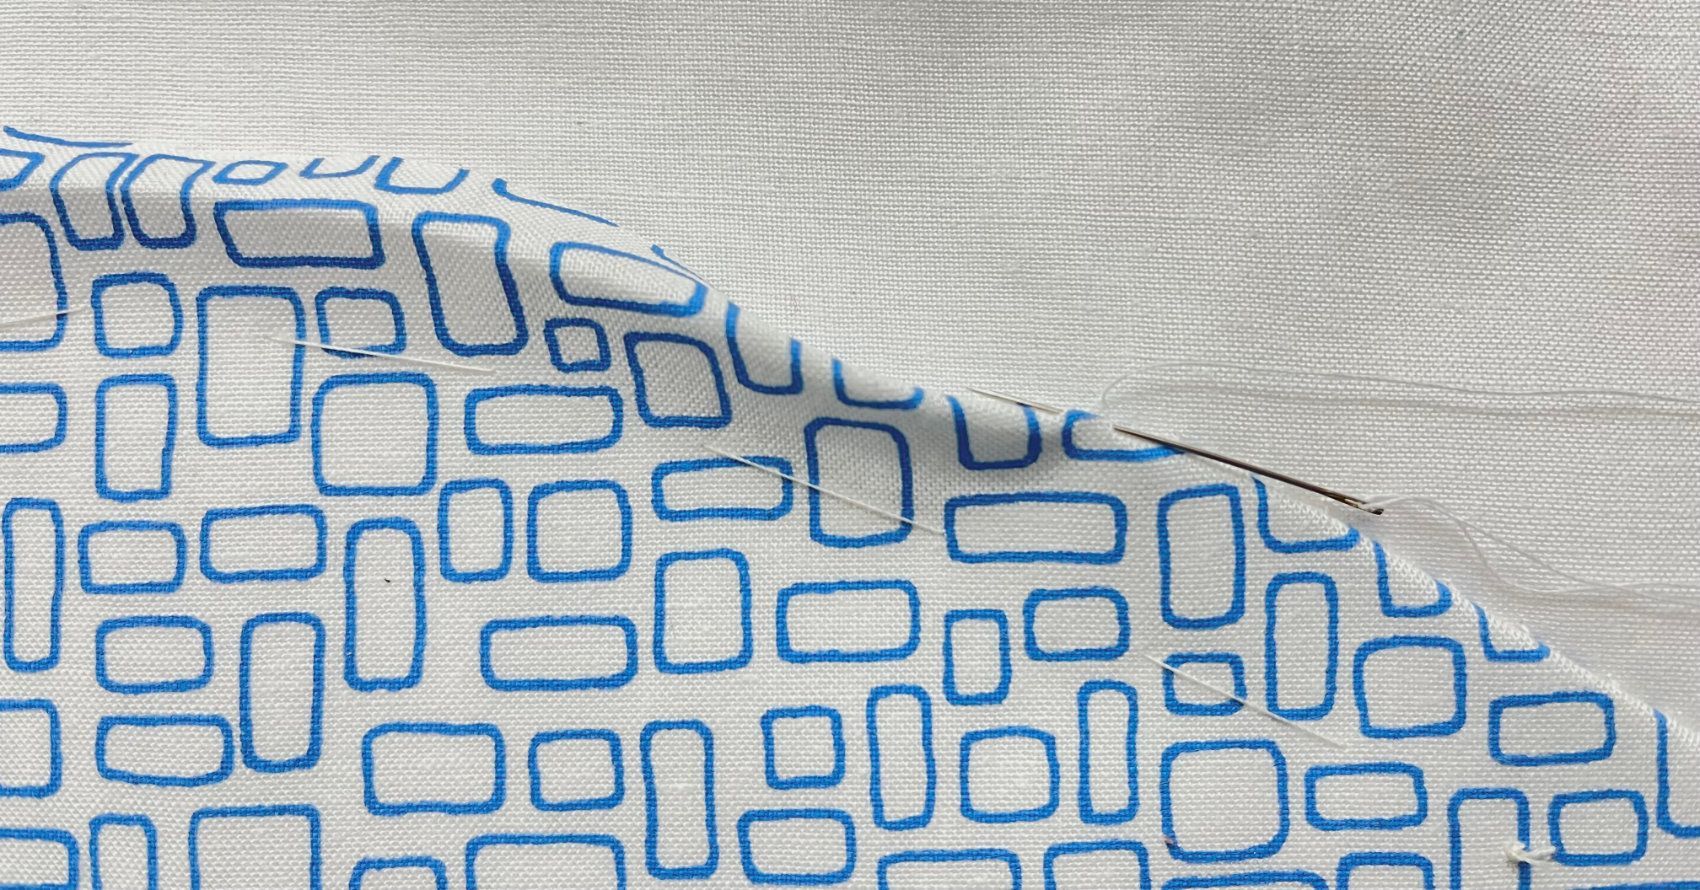
Stop about 2cm before you get to the points. Finger press over the creases again so you get nice crisp points, this will make it easier to stitch and they will hold their shape. You will find you have an 'ear' sticking out. Simply fold it inwards, and when you continue with your stitching it's neatly out of the way and doesn't cause any additional bulk as it's not in your stitch line.

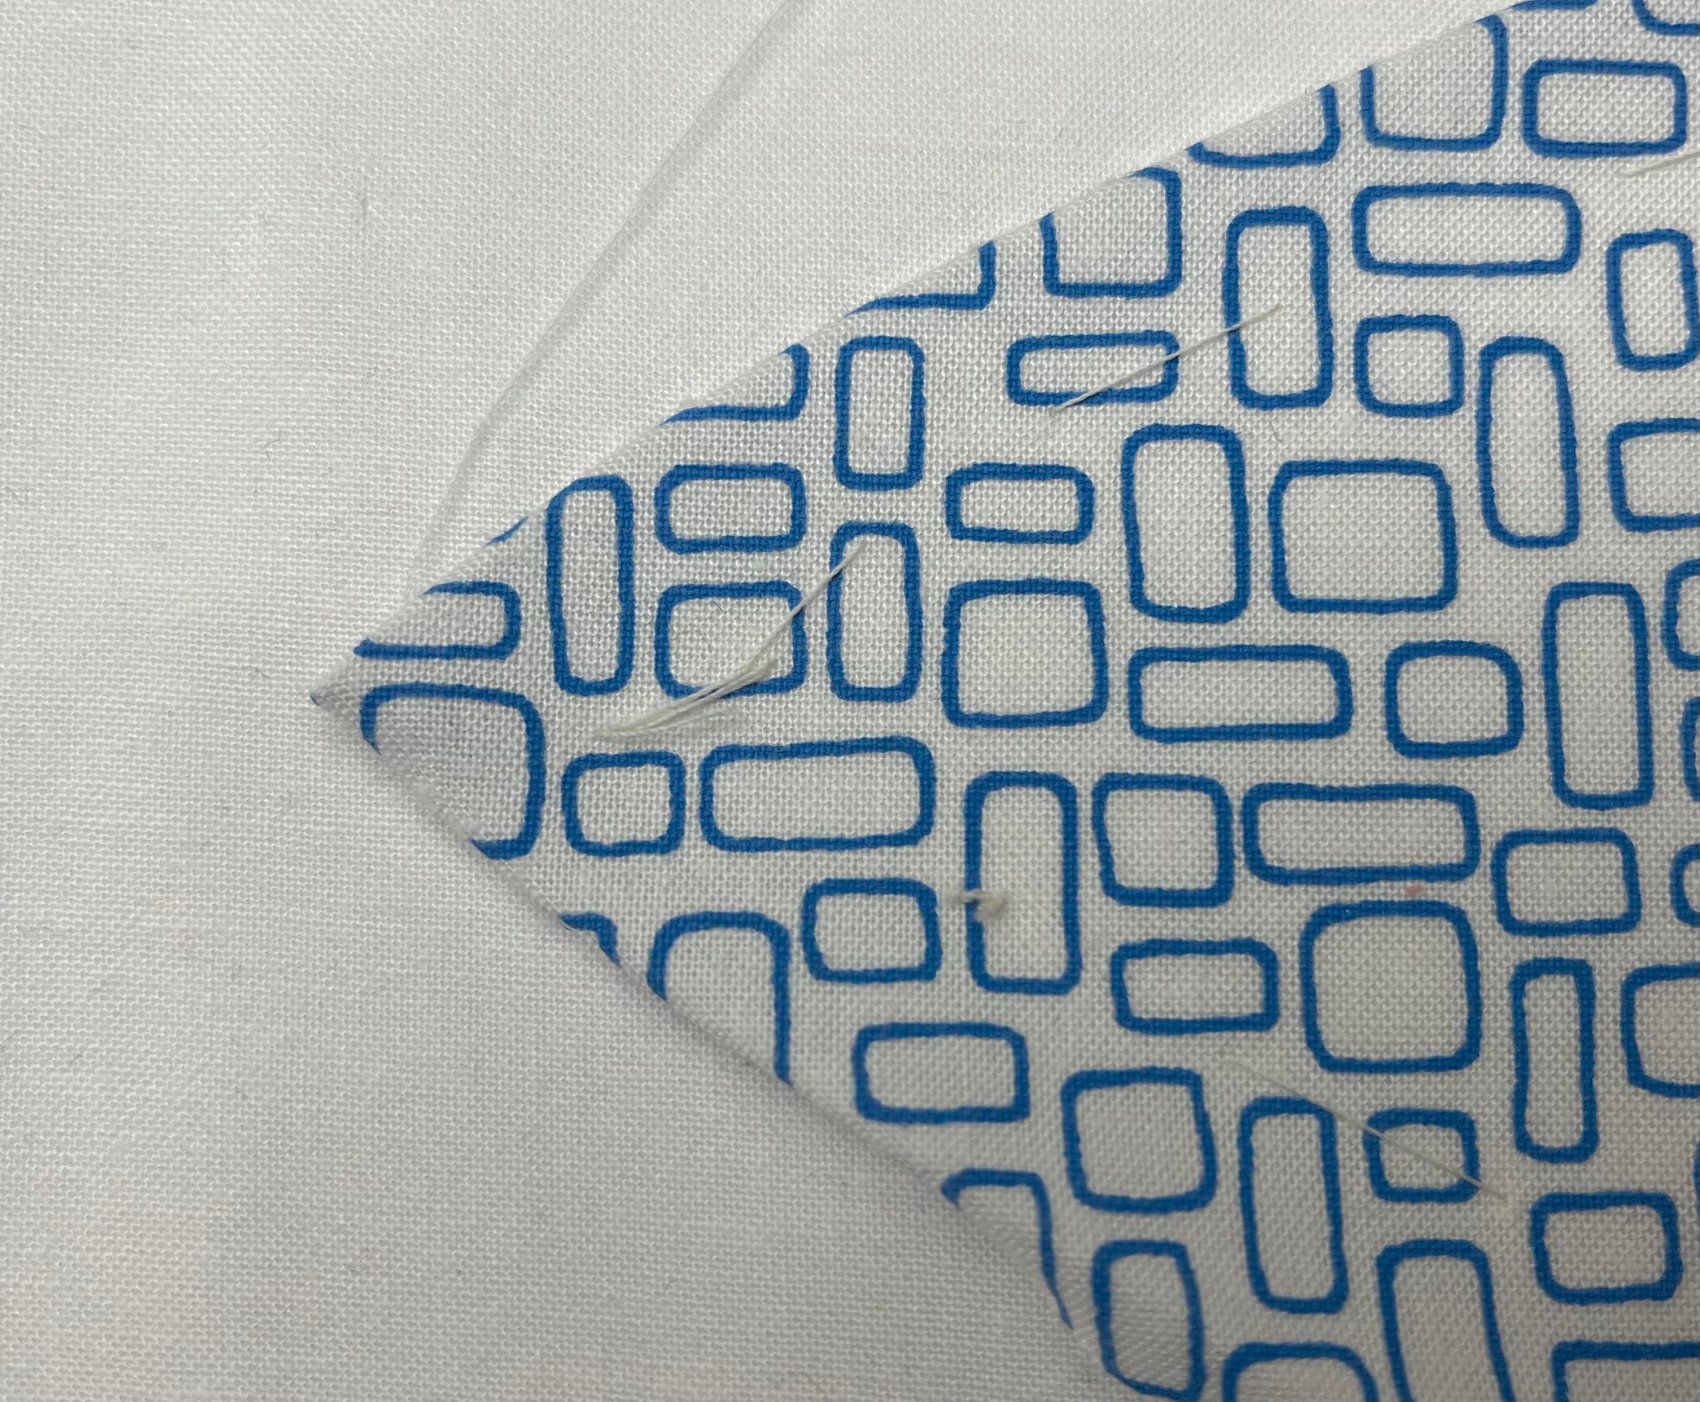
Continue stitching until you have completed your pod. Fasten off on the reverse of the base fabric behind the pod with a couple of small back stitches. Remove the tacking stitches.
Repeat this process for the rest of your pods.
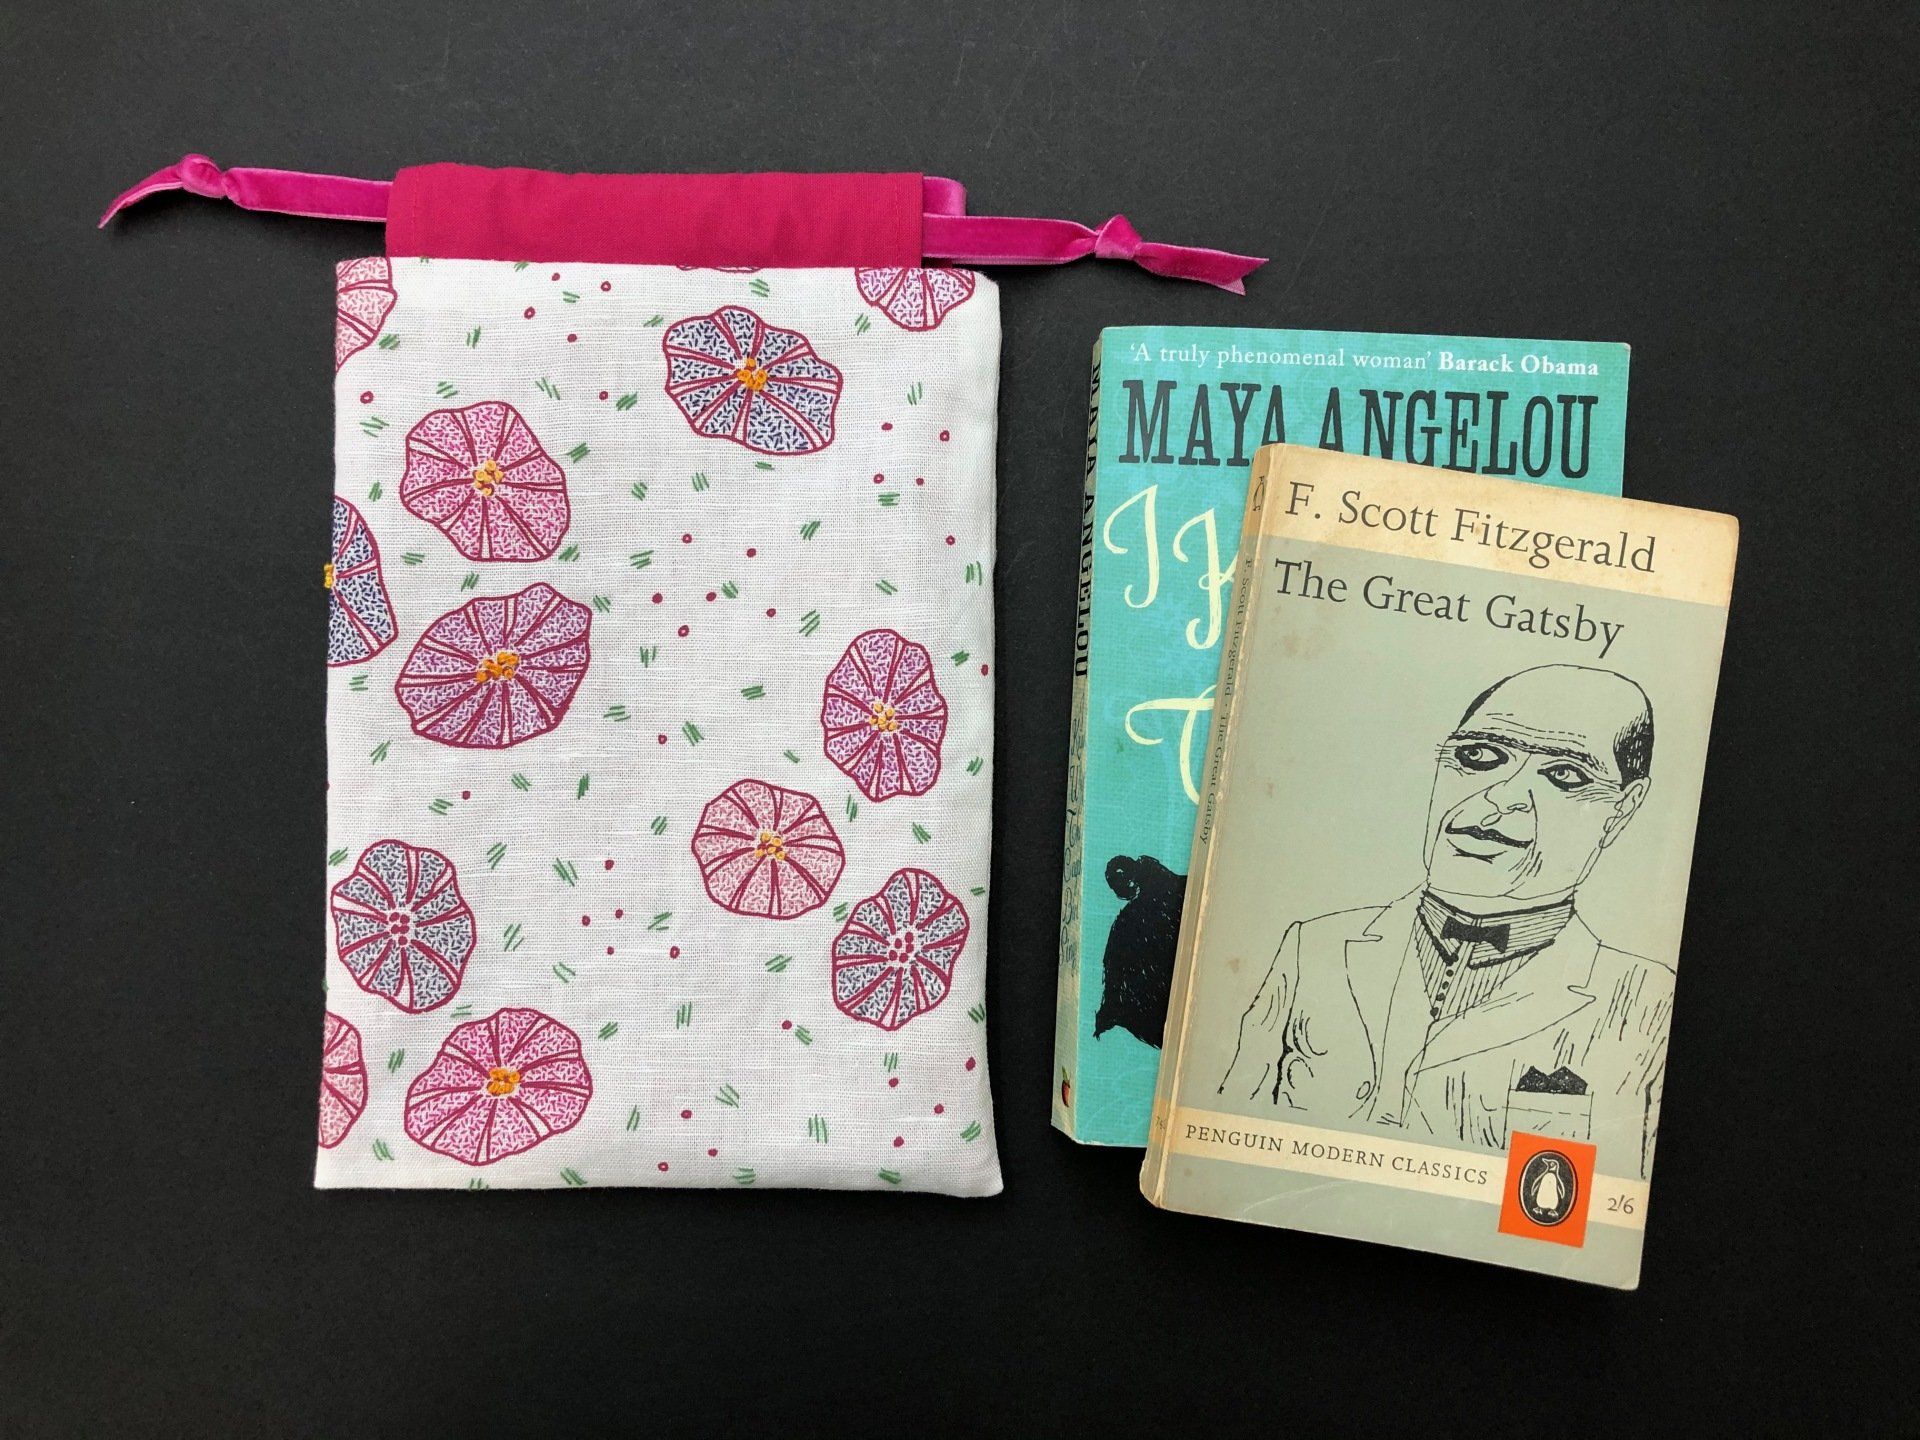
Ready for Quilting
Once you have appliquéd all of the pods you are ready to baste and quilt. I have used a cotton wadding and have quilted with straight lines by hand. Choose whatever wadding and quilt method you prefer and make the next stage your own!


If you need some printed fabric for this project, I've put together some bundles at a special price here. You can get the 2m white cotton here.
I hope you enjoy making your own Pod Quilt, please tag yours with #podquilt on social media, I'd love to see your version. This would look great in other colours too.
share with a friend